Showing posts with label paper. Show all posts

Wednesday, June 6, 2012

Crafting with my Cousin

As I alluded to in this post, I had the chance to craft with my 11 year old cousin a couple weeks ago.  She lives 4,000 km away so we don't see each other as often as we'd like but now that she's a bit older we can keep in touch by e-mail.  Before she came to visit I had e-mailed her to ask if there was anything she especially wanted to do during our time together.  Making a craft was at the top of her list. (This proves we are related!) 

The week leading up to her visit was really busy for me so I didn't have a chance to prepare anything.  This worked out OK as we looked through a couple of my craft books and found a couple projects to do. (I love the craft books from Usborne, they have great ideas and clear directions!)  She picked a lizard that involved drawing, cut out & colouring and then we adapted two crafts to make box monkeys.  Finally my stash of craft stuff was put to use!  As she was looking through the books she would say, "oh, that one needs fabric" or "we would need boxes for that." I was able to say, "I have fabric!  I have boxes!"  Hooray, no crafting delays due to overflowing well stocked craft shelves!


Here she is with our box monkeys.  In the background you can see one of the projects that inspired this one. 


Wednesday, February 29, 2012

Painting Fun (Making Day part 2)

I started Making Day by getting out my watercolour paints.


I started with this idea from Art Projects for Kids.  Coming up with a new colour for each heart was harder then I thought!


After the hearts I went on to paint some quotes I've been collecting, this project has been simmering in the back of my mind for months so it was nice to get it done!


Here are some of the quotes up close, so you can read them...


At the end I realized even though I tried not to, I really gravitate to the same colours (blue & green) all the time! 

Monday, February 27, 2012

Making Day!

This Saturday I had a Making Day.  How is Making Day different to Crafternoon? hmm...  Crafternoon involves friends, Making Day is just me.  Crafternoons have specific projects in mind, Making Day was about playing with supplies & getting creative juices flowing.  Crafternoons involve facilitating others' crafts, Making Day is much more selfish!  (And if you come to Crafternoon please realize I really do love them!  But sometimes I need "me time.")  It was great to have a day to play, I highly recommend it!

I cut into my wool fabric bundle...


...to make cute argyle cards; inspired by these.

Had a little FaceTime with friend who is knitting her first pair of socks & was turning her first heel.  (Texting wasn't cutting it, hooray for iPhones!)

Tried a project from this book I got for Christmas...


...anyone want an owl picture?

Then I played around with quilting, decorative stitches & scraps of fabric to create this... "art leaf".  Based on something I saw in a magazine but very loosely.


During Making Day I listened to a bunch of episodes of my new favourite podcast, by Joy the Baker.  I can't tell you how much fun this podcast is!  It's like listening to two of your best friends discuss "the totally important unimportant things" of life.  You might want to go listen now!

The best part?  That's not even all of it!  There are some things (including a tutorial!!) I'll be back to share a bit later this week and other things that are gifts so I can't share them just yet.

Wednesday, November 16, 2011

Christmas Crafternoon

Last weekend I hosted another Crafternoon - this one with a Christmas theme.


I set up various "stations" around the house - folding wish stars from glitter paper and trees from magazine pages, sewing Christmas trees from felt, and the most popular, Christmas card making!

This is how the table looked before everyone arrived.


Then people came and got creative.


And the table looked like this!


We also enjoyed some festive nibbles...


...to sustain our creative efforts.  I loved introducing non-crafters to the joy of folding, stamping and embossing.  If you've never tried embossing (the kind where you stamp an image, sprinkle on embossing powder & heat it), I highly recommend it! Watching the embossing powder set is like magic & it was so fun to see everyone's reaction to their first embossing experience!

All round it was a great afternoon.  We may need to do this again.  Soon.

Sunday, July 10, 2011

Chiyogami Challenge - Projects #6 & #7

Does anyone else feeling less crafty this summer?  Maybe not feeling less crafty but not finding time to craft?  After hibernating all winter I just want to get out in the sunshine as much as possible!  Thus the lack of posts since its got warm.

Two projects today - both came from the same sheet of paper.

The first was using a small strip to cover the top of a notepad.


  • Cut out sheets of note paper.
  • Staple together.
  • Glue a piece of decorative paper around the top (covering both sides).

The next one is even easier.  I'm sure you can figure it out for yourself!  My tip is to make sure there is glue in the fold so it will be attached to the paper clip.


That's all for now.  Off to the lake in a bit for a little canoe & swim.

Tuesday, July 5, 2011

Chiyogami Challenge - Project #5


No step by step pictures for this one but it's pretty easy (hmm... I feel like I've been saying that about a lot of these projects).
  • Glue wooden stars to paper & let dry.
  • Cut out & glaze the paper.
  • Glue a magnet to the back.

One piece of paper was enough for a big & little star.

Sunday, June 26, 2011

Chiyogami Challenge - Project #4

I (along with most of blogland it seems) love washi tape.  Again, along with most of blogland it's not something I find in stores very often (I did find some at the Paper Place back in October) and so far I haven't ordered any on-line.  So I've used one of my chiyogami squares to make 18" of custom washi tape.


  • Stick double sided tape along the top of the paper square.


  • Trim off the excess paper. (I'm using a rotary cutter but you could use scissors).


  • Stick the excess paper on the tape next to the piece you've trimmed and continue this way till all the paper is used up!

And now you've got some one of a kind tape ready for use!  Envelopes, parcels, scrapbooking - here we come!

Wednesday, June 15, 2011

Chiyogami Challenge - Project #3

Another quick one!  
  • Punch circles out (I find chiyogami paper doesn't punch well on it's own so I punch it together with a scrap of regular paper).
  • Glue onto blank labels (I used a UHU glue stick).
  • Peel away the outside of the labels and trim the backing paper.

I've been using these as seals on the backs of envelopes, where would you use them?

Tuesday, June 7, 2011

Chiyogami Challenge - Project #2

Ready for another chiyogami project?  Nothing too fancy but a fun way to display some beautiful paper!


Another look at them - as part of a display collection.


No step by step photos for this one but the instructions run something like this: cut squares from paper, glue on wooden block.  I used 1" squares of paper and the blocks are ever so slightly larger.  And since each block only need 6 squares I have a 1x3 rectangle of each print left for another project!

Sunday, June 5, 2011

Chiyogami Challenge - Project #1

As I mentioned yesterday I've finished the first project in my chiyogami challenge.  Can you spot it?


Yep, a little frame!


Want to make one too?  

You'll need:
  • 3" square of decorative paper
  • 2.5" square of heavy card (mine is maybe mat board)
  • glue, scissors, craft knife


1. Cut a square out of the centre of your card.
2. Cut an X out of your decorative paper (I put the frame on top & eyeballed it).
3. Clip the corners off the outside paper as well as the triangles created by the X and fold the onto the frame.
4. Glue everything down.

I've got mine propped up with other photo frames but I think these would be great scrapbook embellishments as well!

Tuesday, May 31, 2011

Chiyogami Challenge

When I was out this weekend I picked up this little package of paper.  Have I mentioned I'm a sucker for anything tiny?


And the marketing is good too - you don't want to be stranded without some chiyogami! LOL


Coming from the Japanese Paper Place I knew there would be beautiful paper inside (plus I undid the package and had a peek in the store... shhh) - and there was!


So I have now challenged myself to come up with 24 different projects to use these tiny pieces of paper.  No deadlines, just 24 beautiful projects to accomplish when I feel like paper crafting!

Monday, April 25, 2011

Show & Tell

Hope you all had a good long weekend!  I sure enjoyed 4 days off work. Today I have a couple things to show you.

Last weekend at the CreativFestival I had the chance to try Ebru - Turkish paper marbling.  Now I've tried paper marbling before on a small scale (think margarine tub and small jars of model paint) but this was larger and more... planned.  After I chose my design I was directed what colours to use, how to apply it and got a helping hand when things weren't quite right.


When the print was made it looked like this!  A pansy - my favourite flower.


The second thing I have to show you is this little wood burning I won at the Cabin & Cub giveaway, isn't it sweet?  I was so excited to win - it's the first ever giveaway I've won!  My name was picked when there was still snow on the ground so this little guy was a welcome reminder that spring is here!

Tuesday, March 1, 2011

Kirigami Challenge - Week 4

Today is March 1st which means my February kirigami challenge is over.  It was fun but I'll confess I'm pretty happy that now I don't need to remember to find the time to cut something every day!  Here's my last week of designs.

Day 21:
hmmm... really can't find anything to say about this design...moving right along!


Day 22:
I was trying to add some scallop-y edges to this.  It worked out except where I was too close to the edge and you see the flat parts.


Day 23
This was supposed to be much bigger but I chopped off those essential folds so I ended up doing a small design.  I like the geometric-ness of this piece!


Day 24:
I love how a little flower showed up in the middle - completely unintentionally!


Day 25: 
I think this design would look smashing with the holes coloured in like stained glass!  Maybe tissue paper or glued down and watercoloured.


Day 26: 
Lots of curves, kinda reminds me of worms or something.


Day 27: 
I love cutting stars, I added a little star in the centre for fun.


Day 28: 
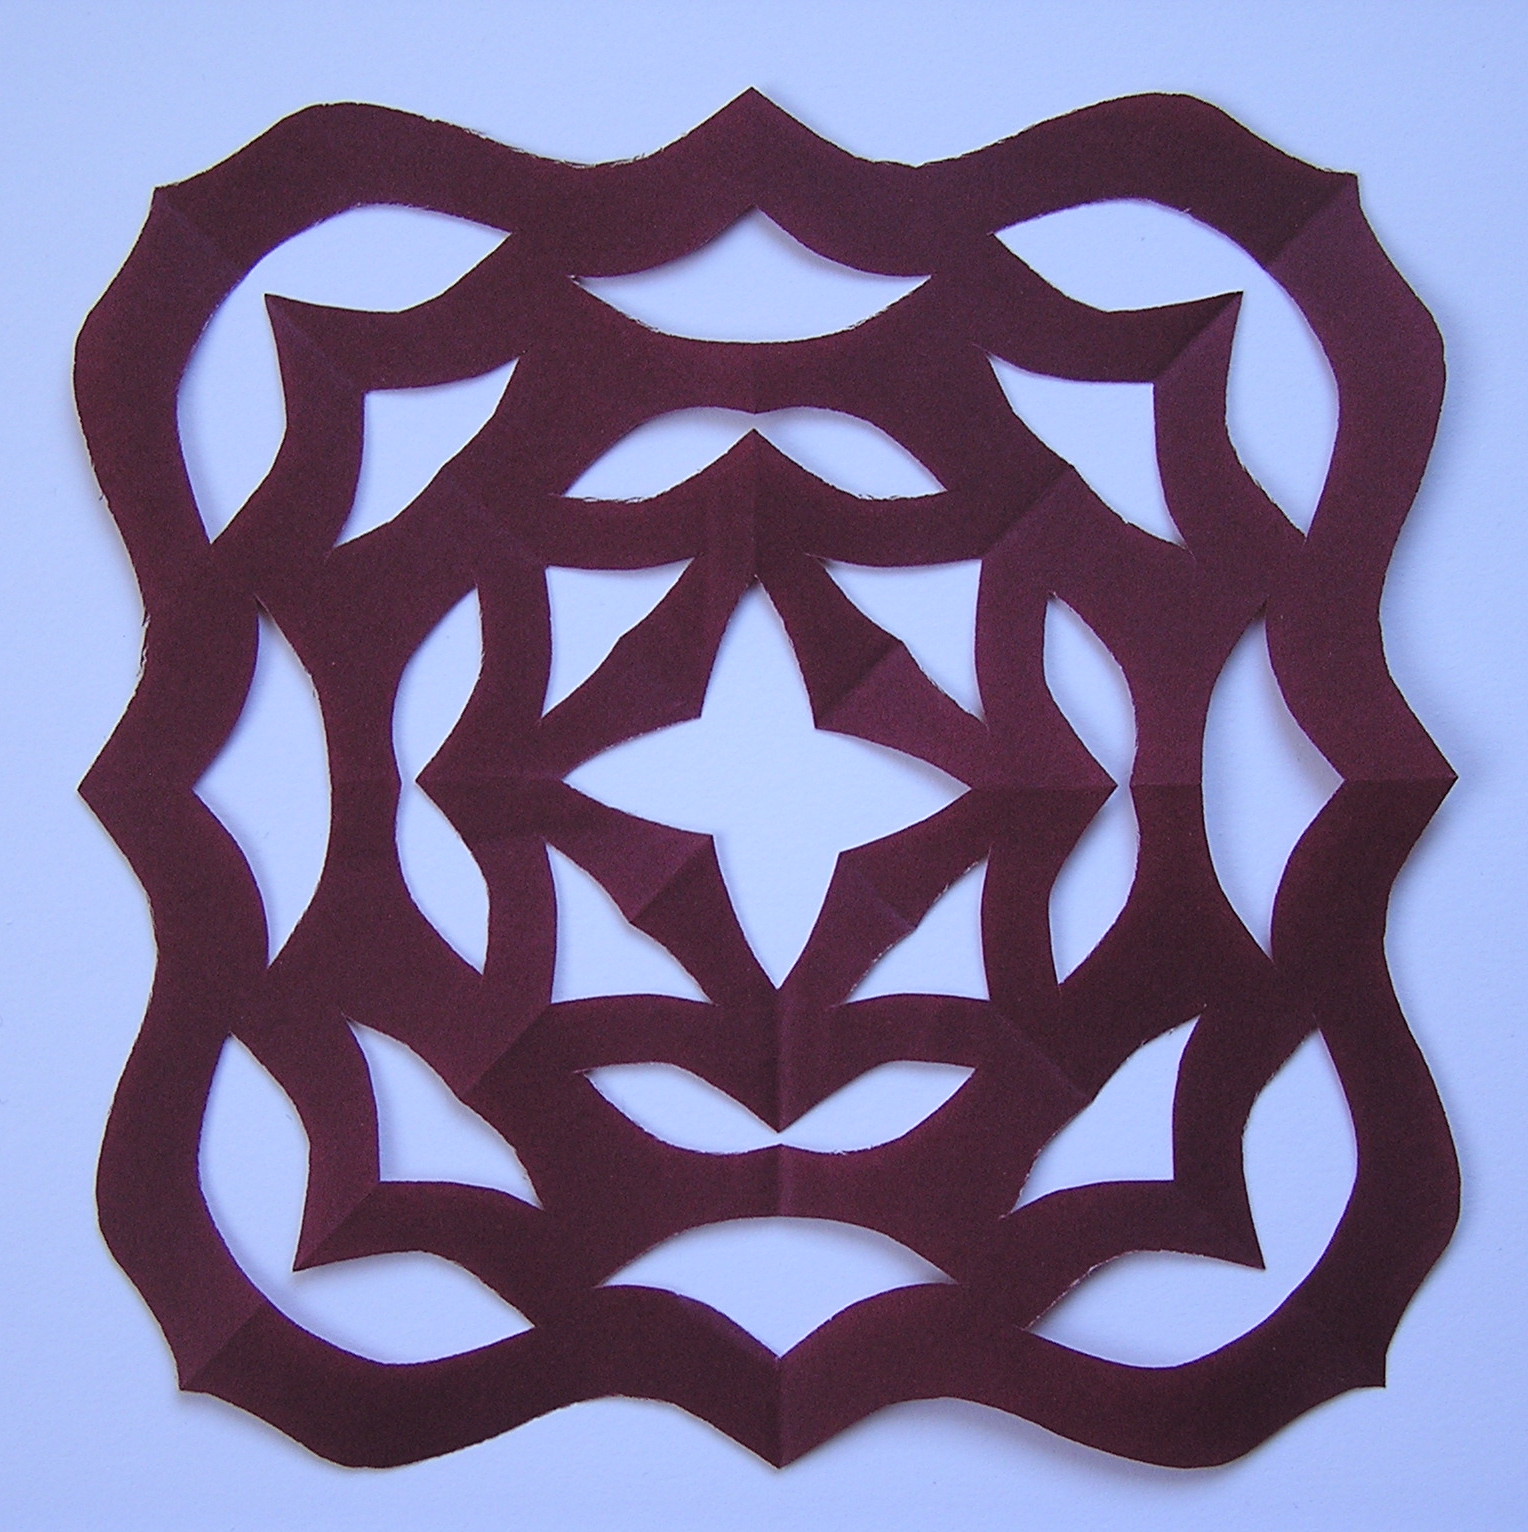
I really like the peaks on this one.  And the colour!  Nice way to end my month-long challenge.


Now what do I do with all these cutouts?  Suggestions?