I needed a camera bag to go with the new DSLR. But I didn't really want an I Have A Camera In Here type bag so I decided to sew my own, basic drawstring bags with quilting batting for a bit of padding. I made one for the camera and another for the extra lens.
Closed up they look like this...
...and can go in a large purse...
...or a backpack.
Have yet to try them out but I think they'll work!
Showing posts with label sew. Show all posts
Wednesday, June 27, 2012
Monday, April 2, 2012
A Bale of Turtles
These little turtles were made to celebrate the first bike ride of the season. They attach to handlebars and are the perfect mascots for Team Turtle!
Team Turtle came about last year when the girls & I were out on a ride and we found some turtles in need of rescuing (listen turtles: the middle of the road is not a good place to stop!). I also maintain my motto is "slow and happy"; I'm out to enjoy myself not knock myself out by getting to the finish line first. So Team Turtle it is. A great excuse to try out this tutorial over on Ric-Rac.
The original turtles aren't meant to hang off bikes so I added a hair elastic at the tail end which wraps under the handlebars and clips onto a button at the head end of the turtles.
In case you were wondering, their names are Speedy, Harrison & Earl. Speedy doesn't like the wind, Harrison likes riding upside down and Earl had the good sense to stay home when it was hailing!
Tuesday, March 20, 2012
Phone Charging Pocket Tutorial
Why leave your charging phone on the counter when you can put it in a cute pocket like this?
This was one of my Making Day projects. The one I promised you a tutorial for... you know, three weeks ago (sorry about that).
Want to make one? Let's get started!
You'll need:
- Fabric (I used a print & a solid)
- Fusible interfacing (heavyish)
- Sewing machine or needle and thread
Step 1: Cut out a 12" x 6" rectangle from each of: outer fabric, lining fabric and interfacing.
Step 2: (not pictured) Fuse interfacing to the wrong side of one of the fabric pieces.
Step 3: Pin fabric right sides together & sew around the rectangle with a 1/4" seam allowance. Leave a few inches unsewn for a turning gap. Clip the corners.
Step 4: Turn piece right side out and press.
Step 5: Top stitch around piece to close gap and give everything a nice finished look.
Step 6: Fold up the bottom of the rectangle to create a pocket. I test fitted with my phone and eyeballed it. Sew on top of the topstitching along each side of the pocket.
Step 7: Another test fitting step. Place the plug for your charger at the top of the pocket...
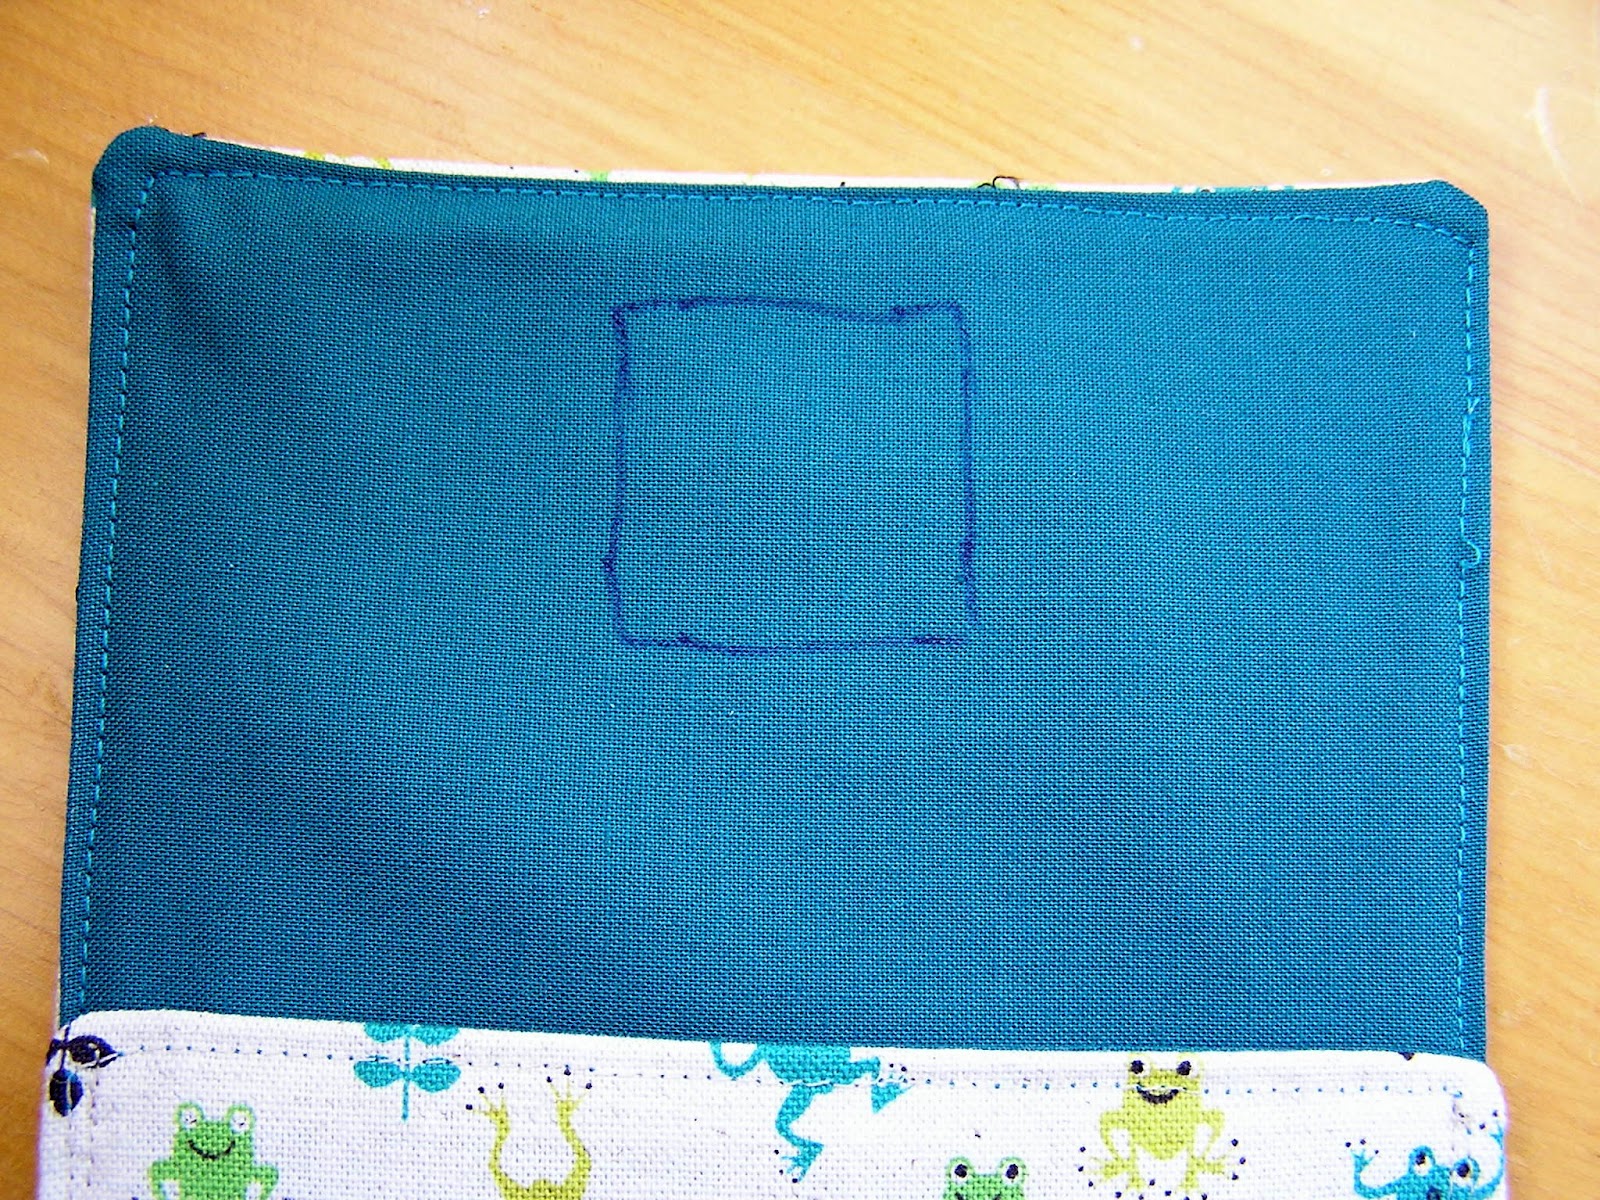
...trace around it.
...use a tight zig zag stitch to sew around the square (or other shape) you just traced.
Ta-da! Plug in your phone then tuck it, and all the wiring, into your cute pocket.
Monday, February 27, 2012
Making Day!
This Saturday I had a Making Day. How is Making Day different to Crafternoon? hmm... Crafternoon involves friends, Making Day is just me. Crafternoons have specific projects in mind, Making Day was about playing with supplies & getting creative juices flowing. Crafternoons involve facilitating others' crafts, Making Day is much more selfish! (And if you come to Crafternoon please realize I really do love them! But sometimes I need "me time.") It was great to have a day to play, I highly recommend it!
I cut into my wool fabric bundle...
...to make cute argyle cards; inspired by these.
Had a little FaceTime with friend who is knitting her first pair of socks & was turning her first heel. (Texting wasn't cutting it, hooray for iPhones!)
Tried a project from this book I got for Christmas...
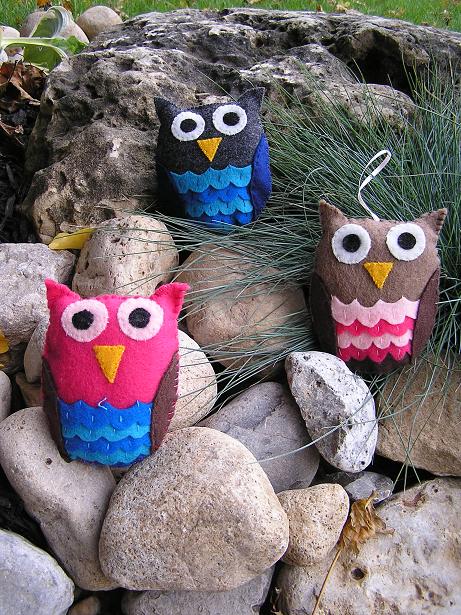
...anyone want an owl picture?
Then I played around with quilting, decorative stitches & scraps of fabric to create this... "art leaf". Based on something I saw in a magazine but very loosely.
During Making Day I listened to a bunch of episodes of my new favourite podcast, by Joy the Baker. I can't tell you how much fun this podcast is! It's like listening to two of your best friends discuss "the totally important unimportant things" of life. You might want to go listen now!
The best part? That's not even all of it! There are some things (including a tutorial!!) I'll be back to share a bit later this week and other things that are gifts so I can't share them just yet.
Monday, February 13, 2012
Crafternoon in February
This weekend I hosted a small crafternoon - just one friend; we were using my sewing machine so having just the two of us worked really well. We made these lovely zippy pouches from this tutorial on Skip to My Lou. Super simple instructions and going assembly line style we made 5 pouches in about 2 hours!
It was lots of fun to match & co-ordinate lining fabric, outer fabric & zippers! I forgot to get pictures of the linings but you can see some of the zippers in this photo.
I did remember to get some "action pictures" of me crafting! I don't think I've seen myself sewing before! In the other photo,s where my face is more visible, I look like I'm concentrating pretty hard!
Did you get up to anything crafty this weekend?
It was lots of fun to match & co-ordinate lining fabric, outer fabric & zippers! I forgot to get pictures of the linings but you can see some of the zippers in this photo.
I did remember to get some "action pictures" of me crafting! I don't think I've seen myself sewing before! In the other photo,s where my face is more visible, I look like I'm concentrating pretty hard!
Did you get up to anything crafty this weekend?
Tuesday, November 1, 2011
Christmas Ornament #2
Finished the second ornament from my Walk in the Woods kit. I love sewing these ornaments, wool felt is so lovely to work with and it's nice to have the pattern, instructions & supplies all ready and waiting. The sequin & french knot snowflakes were fun to sew, I'm only disappointed there's only one ornament left!
Saturday, October 29, 2011
Crafternoon Guest Posting
Just a quick post to direct you to Bugs and Fishes by Lupin where you will find my first ever guest post! Topic: Crafternoon and making stuffed owls.
Tuesday, October 25, 2011
Christmas Crafting Has Begun!
I know I'm not the only one who has begun Christmas crafts - I've seen them on blogs like A Spoonful of Sugar, According to Kelly and Sew, Mama, Sew! I'm starting with a felt ornaments. I bought a kit from Alicia Paulson last year but it arrived when I was in the midst of a plethora of Christmas crafts & I didn't get to sewing it. So far I've got one ornament, the cottage, done.
Sunday, August 14, 2011
Doll Clothes Again
I've done a little sewing of doll clothes for my cousin's little girl who I'll be seeing in a week. She's 4 & I thought she'd like to expand her Cabbage Patch wardrobe a little. I made all these things from stuff I had on hand - mostly old clothes that were too worn out to wear. I love using old clothes for doll clothes because you can cheat and re-use the hems most of the time!
First up, a dress that was a long sleeved T-shirt in a former life.
Next, due to some lack of planning on my part, there is one T-shirt with three different bottoms options.
Skirt (the only thing not made from old clothes)...
Shorts...
Pants...
I remember from my doll playing days that I really liked having everyday clothes for my dolls, they didn't have a lot of occasions for wearing fancy dresses, so I've kept that in mind when planning doll wardrobes.
If you would like to make some doll clothes of your own you can find the T-shirt tutorial here and the pants tutorial here. The dress is like a T-shirt with a gathered rectangle attached and the skirt is a gathered rectangle. If you have questions please ask!
Sunday, May 29, 2011
Buttercup Bag
I'm sure some of you are familiar with Rae's Buttercup Bag pattern - it uses fat quarters, is quick, easy and free! It's been on my informal to do list for a while and this spring I found the perfect fabric for it! Actually when I bought the fabric I considered making another Birdie Sling but since I have 2 already I thought I'd go for something a little different.
I love it! Big bags are nice for carrying a water bottle, camera, umbrella, etc. etc. but sometimes a girl needs something a little smaller. Especially when wearing a summer dress (which it is finally warm enough for - hooray!).
And since turquoise is my favourite colour it will go with a lot of my clothes (um, and shoes & jewelry, what can I say, I know what I like!)
I made a few changes to the original pattern:
I love it! Big bags are nice for carrying a water bottle, camera, umbrella, etc. etc. but sometimes a girl needs something a little smaller. Especially when wearing a summer dress (which it is finally warm enough for - hooray!).
And since turquoise is my favourite colour it will go with a lot of my clothes (um, and shoes & jewelry, what can I say, I know what I like!)
I made a few changes to the original pattern:
- Interfaced the whole thing to give it more shape-holding capabilities.
- Adding piping between the two outer pieces.
- Made the inside pocket more rectangular & less square.
- Made the strap wider (which I was able to do since I was working with yardage and not a fat quarter).
Sunday, April 10, 2011
Craft Show Creations
With my first craft show less then three weeks away I've been working on making inventory. Like needle cases...
And I've been making more rainbow flower cards...
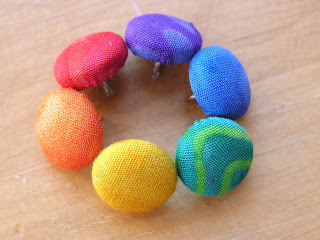
Rainbows have been turning up in other places too. Like thumbtacks...
And magnets (which are significantly larger then the thumbtacks though you can't really tell here)...
I love how these rainbow zippy pouches turned out!
But I also made some plainer ones in case you're looking for something a little less bright.
I've started working on packaging and my table display. Since I've never done this before I wanted to leave plenty of time to fiddle with things and get something I'm happy with. I'll show you later this week and you can offer any suggestions you have!
Sunday, March 27, 2011
Tiny Dolls
A few weeks ago I showed you some tiny clothes I was embroidering...
And I've now got the final product to show you!
As I mentioned before this doll is taken from the book Felt Wee Folk. This is my first project from the book but I doubt it will be my last! I love embroidering on wool felt and it was such fun to play clothing designer as I sewed. The body is made from embroidery floss wrapped pipe cleaners. This doll wasn't my first attempt at pipe cleaner dolls. Many years ago I made lots, and sold some under the name "Laura's Lassies". I started with basic dolls...
And then started making them as dancers! These ones are based on costumes from one of the dance shows I was in.
Here are some more balletic ones.
There are lots more too, I'll have to see if I can find pictures of the costumes these are based on. Would you be interested in seeing?
Thursday, March 10, 2011
On my Desk
I seem to have a bunch of projects on the go right now. This is what my desk looks like as a result!
One of the projects is making little dolls from the instructions in this book. I'd ordered the felt before Christmas but hadn't gotten around do making anything (non-Christmassy) with it till now. I forgot how enjoyable embroidering on wool felt is. Very theraputic!
Not that I'm rushing along at great speed but the dolls will have to be headless until I can get to Michaels or some such and buy the right size beads. Good excuse to visit a craft store though!
Subscribe to:
Posts (Atom)